Collection Catalogues
Learn how to publish a collection catalogue with Quire
Along with monographs, edited volumes, and serial publications, Quire is also designed with the publication of collection catalogues in mind. Collection catalogues typically feature a series of pages focused on individual objects. Each page includes images of an object, data about it, and an essay or analysis text. To publish this style of catalogue with Quire, you’ll capture object data, create the object pages, and then, optionally, display a visual grid of the objects.
Creating an objects.yaml File
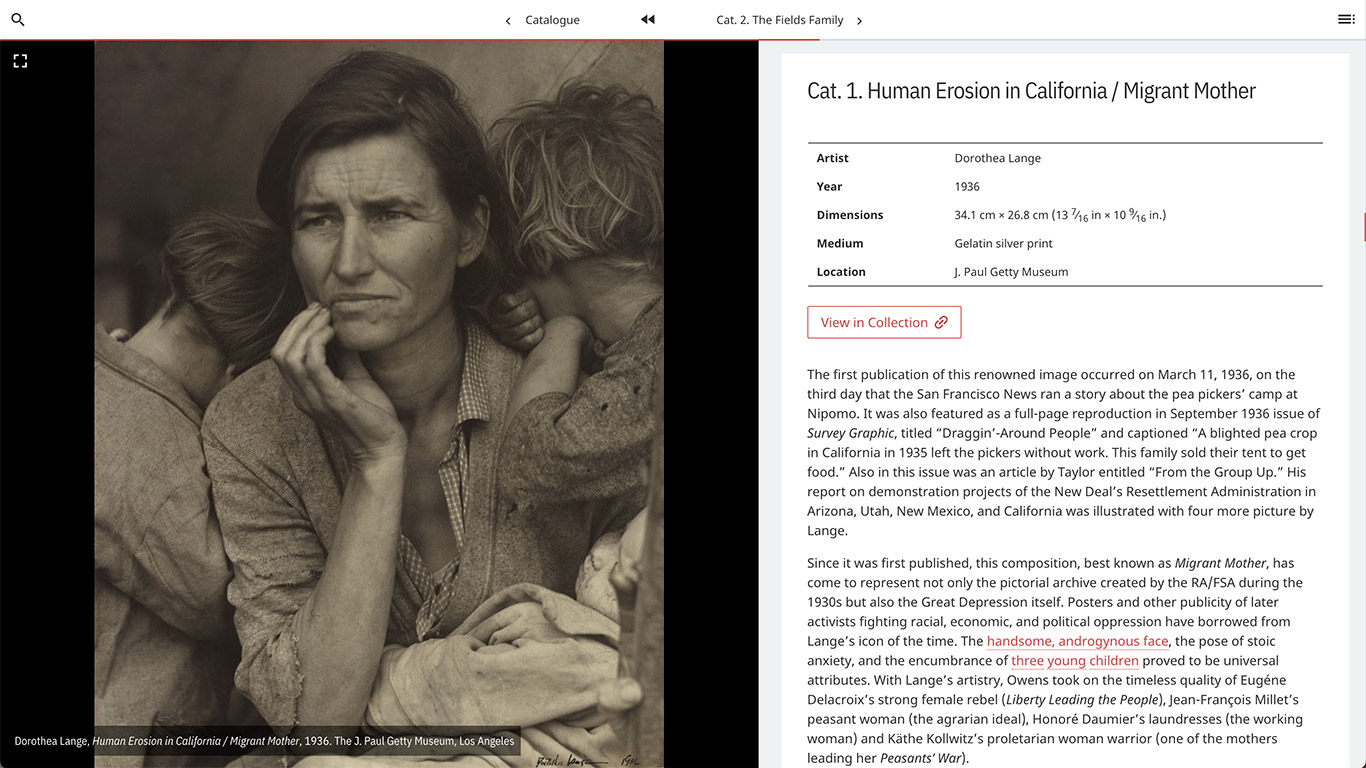
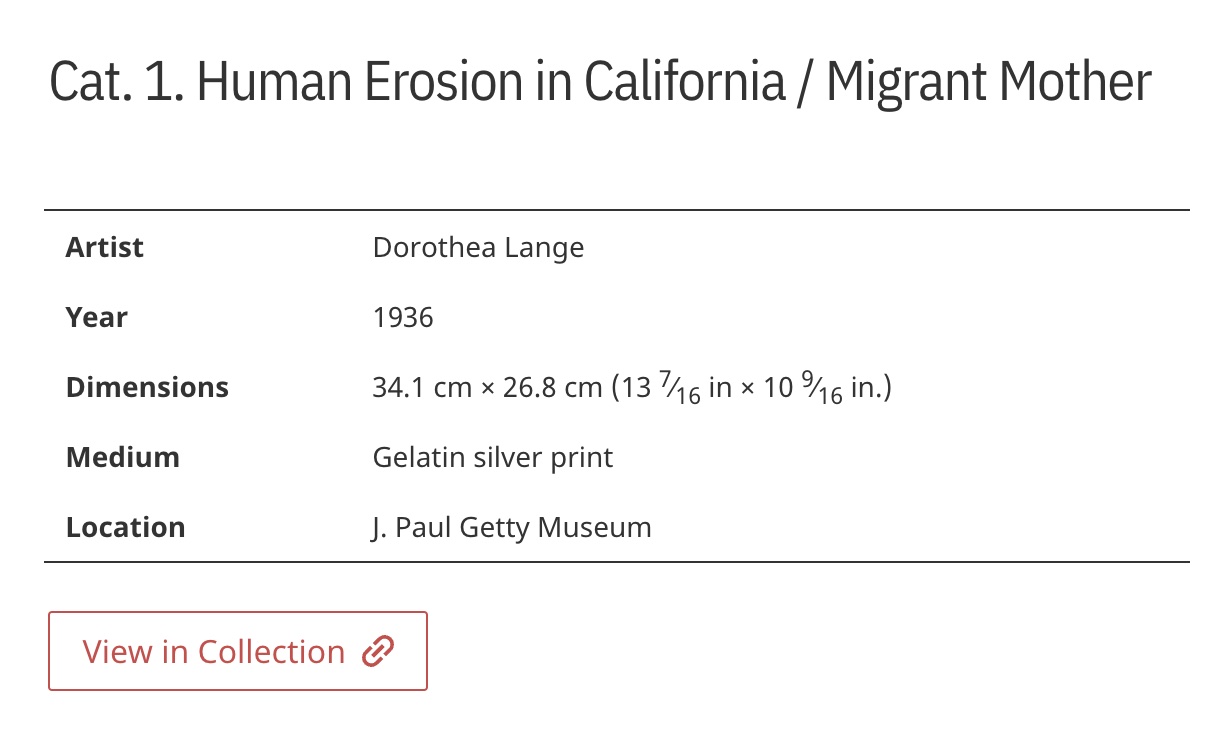
The first step of creating a collection catalogue in Quire is to capture all the data related to your various objects in an objects.yaml file. Similar to how Figure Images are managed with YAML, this data can then be pulled into your Markdown files through the use of an id. The primary way this information gets displayed is as a table of information that accompanies each object in the publication. This table is often referred to as a “tombstone”.
There are two steps required when setting up your objects.yaml file. The first step is to create an object_display_order list. This controls not only what information will appear in the tombstone, but also the order in which it appears.
object_display_order:
  - artist
  - title
  - year
  - dimensions
  - medium
  - location
Once you have determined the information you want to display, you then create an object_list. Similar to entries in a figures.yaml file, each entry in this list will reference a different object featured in your publication. The attributes that populate this list should include, but are not limited to, the attributes listed under object_display_order. For example, you may want categorize object types (painting, sculpture, drawing) for use in the filterable object grid but don’t require this information to show up in the object tombstone. In that case, you would leave type out of object_display_order but keep it in your object_list.
object_list:
  - id: cat-1
    artist:
    title:
    year:
    dimensions:
    medium:
    type:
    location:
    link:
    figure:
      - id:
  - id: cat-2
    artist:
    title:
    year:
    dimensions:
    medium:
    type:
    location:
    link:
    figure:
      - id:
The attributes you choose to include for your objects are completely up to you. However, there are some attribute names that are reserved for particular uses. They are id, figure, link, and thumbnail, as detailed below.
| Reserved Attribute | Description |
|---|---|
id | Used to reference objects listed in objects.yaml in individual Markdown pages. |
figure | One or more images related to the object. The id values correspond with ids in your project’s figures.yaml file. |
link | A URL to an external page with more/current information on the object, such as a link to an object page on a museum website. |
thumbnail | A path to a smaller thumbnail image of the object to be displayed on a page with layout: objects-page. |
Object id
The object id is used in the page YAML of a .md file to pull in information from the corresponding objects.yaml entry. The only time the id is not required is when the object information is listed directly in the page YAML as explained in Capture Object Data on Entry Page.
- The
idcan be anything as long as it starts with a letter, is all lowercase, and uses dashes instead of spaces.
Object Figure
To include one or more images on an object entry page, include a figure id in the object_list that corresponds with an entry in your figures.yaml.
object_list:
  - id: cat-1
    artist:
    title:
    year:
    dimensions:
    medium:
    location:
    type:
    figure:
      - id: fig-1-1
      - id: fig-1-2
      - id: fig-1-3
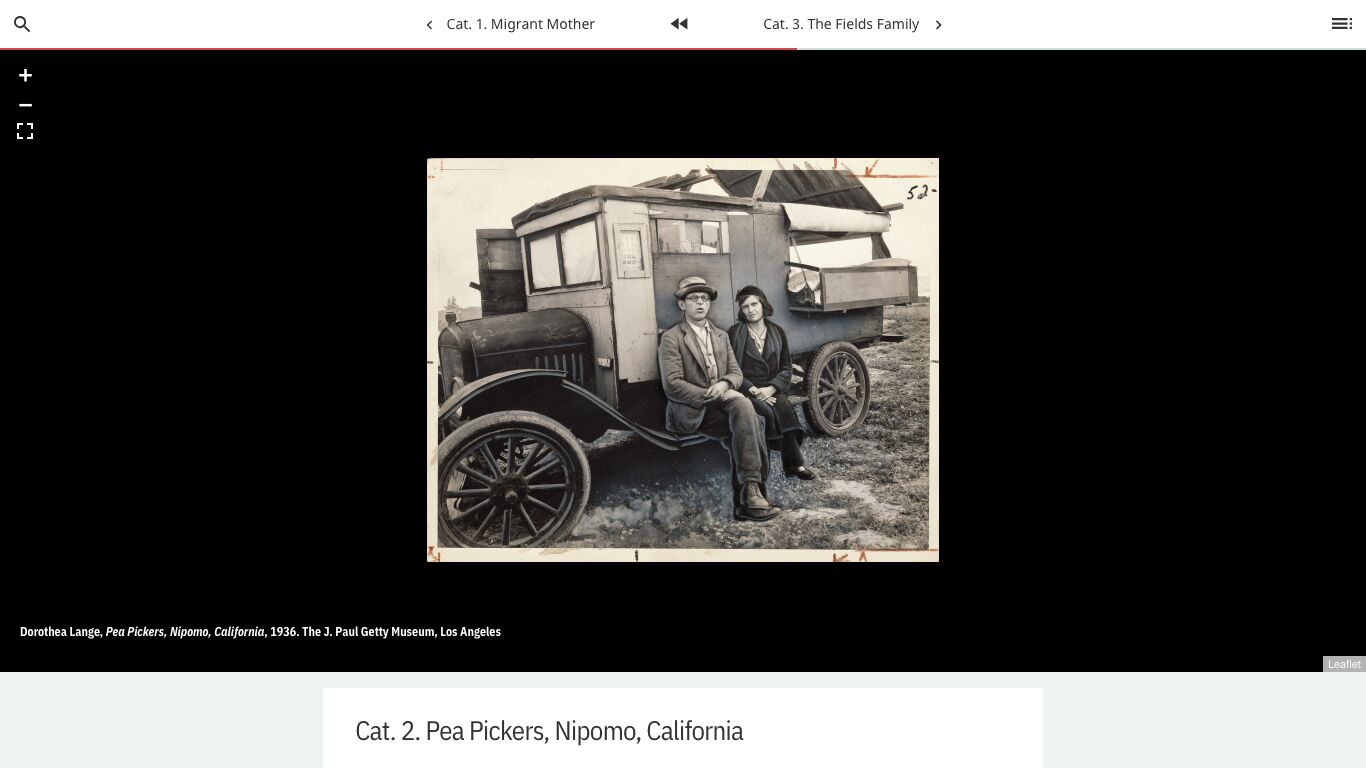
List multiple figure ids to associate more than one image with your object, as in the example above. This will result in a rotating carousel of images on the object entry page. You can also include videos, audio clips, or table figures. If any of the figures have a label, caption and/or credit, that information will be included as an overlay in the carousel.
Object Link
If the object_list includes a link value, a “View in Collection” button is generated that links to an external URL. The text of this button can be customized with the objectLinkText attribute in your project’s content/_data/config.yaml file.
entryPage:
  objectLinkText: View in Collection
Thumbnail
If you are using Deep Zoom with IIIF and the first figure listed in the objects.yaml entry (for example, fig-1-1) is set to zoom: true in the corresponding figures.yaml entry, Quire will automatically create a thumbnail image for use in an object grid.
Otherwise, you can add your own small thumbnail image by using the thumbnail attribute and including a path to that image as the value. The image should be small, approximately 300 pixels wide. When using the thumbnail attribute you must still include the figure id(s) in the object_list.
object_list:
  - id: cat-1
    artist:
    title:
    year:
    dimensions:
    medium:
    location:
    type:
    thumbnail: figures/lange-mother.jpg
    figure:
      - id: fig-1-1
      - id: fig-1-2
      - id: fig-1-3
- If you are using external IIIF images you will also need to add the thumbnail manually. Quire will not automatically generate a thumbnail for external IIIF images.
Create Object Pages
Like all other pages in your publication, object pages are created as .md files in your content directory. To create an object entry page, add layout: entry and the id that corresponds with your objects.yaml file. Another option is to add the object data directly to the page YAML. If you choose to the latter, do this for all objects in your project and make sure the object_list of your objects.yaml file is empty.
Object data that references objects.yaml file:
---
title:
layout: entry
order:
object:
  - id: cat-1
---
Object data in page YAML:
---
title:
layout: entry
order:
object:
  - artist:
    year:
    dimensions:
    medium:
    location:
    type:
    figure:
      - id:
---
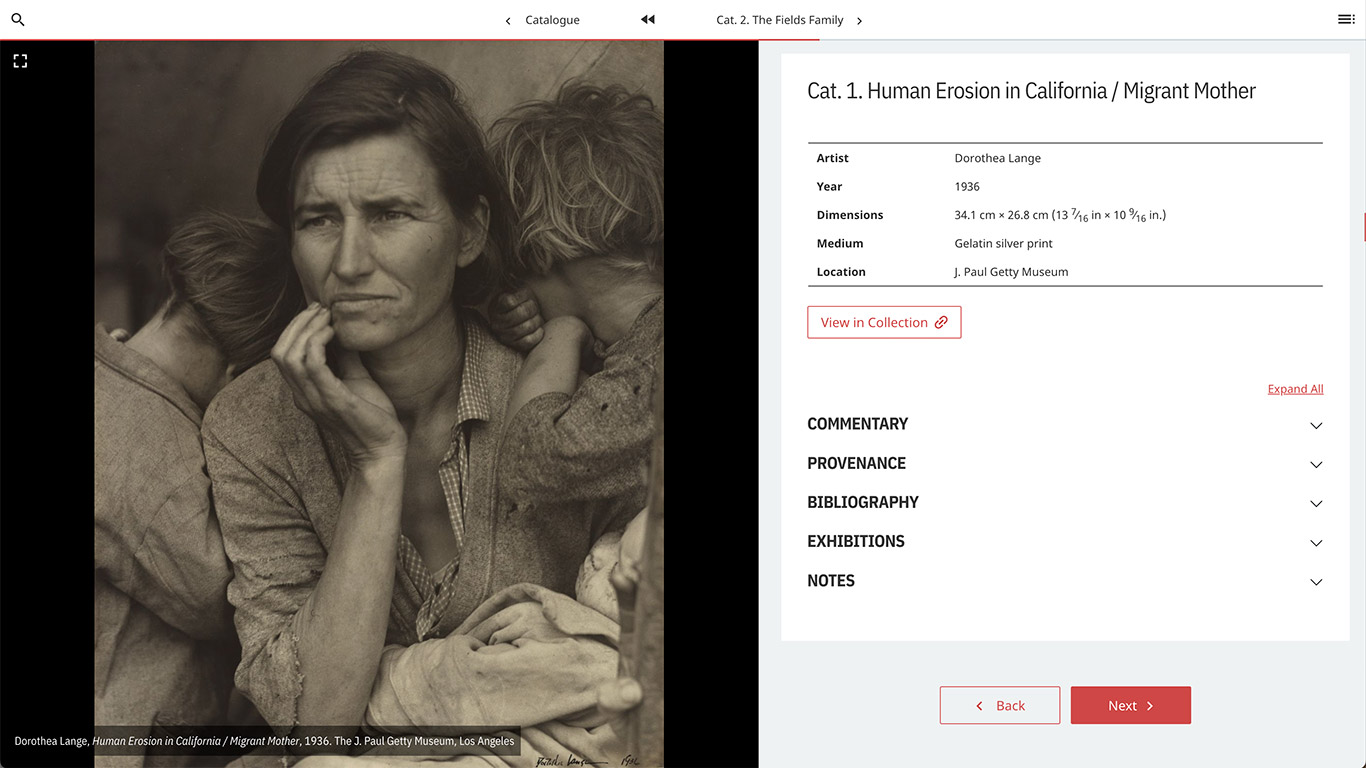
There are two different ways you can format your object entry pages. Adding presentation: side-by-side to the page YAML will make the figure image and tombstone appear next to each other and presentation: landscape will make the image appear above the tombstone information. You can set a default format for all your entry pages in the content/_data/config.yaml by choosing either true or false for the sideBySide attribute.
presentation: side-by-sidelayouts will automatically switch to landscape mode on smaller screens.
Whatever the presentation, you can further organize the content on the page by using Quire’s {% accordion %} shortcode to wrap the individual parts of the object entry into collapsible sections. Read more in the Accordions chapter of this guide.
Generate Object Grids
- In order to access this feature in an older, preexisting project, it must be running on
quire-11ty@1.0.0-rc.16or higher. Run the commandquire info --debugto see what version ofquire-11tyyour project is using. If it is an older version, you will need to start a new project by running the commandquire new [project-name], or follow our instructions to update your existing project.
In a collection catalogue, there is typically a visual table of contents that unifies all the catalogue entries. In Quire, we call this an object grid. The grid includes a thumbnail of each object accompanied by object data. Each item in the grid hyperlinks to the relevant object page in the catalogue when clicked.
To create an object grid, there are three key steps. Add layout: objects-page to a designated .md file, add an object_card list to your objects.yaml file, and add an object_filters list to your objects.yaml file.
- As of March 2024, if you use 360 images anywhere within an object entry (either as main image or within the body of the entry) the object grid feature will not work. This is a known bug and one we are working to fix as soon as possible.
Step 1: Add layout: objects-page to a Markdown file
You can add layout: objects-page to the page YAML of any .md file, that file just needs to be located within a sub-section of your content folder. The objects-page layout will not work in the root directory. Learn more about sub-sections in the Page Types & Structure chapter of this documentation.
title:
order:
layout: objects-page
No other content needs to be added to this page, unless you want text to appear above the object grid.
Step 2: Add an object_card list to your objects.yaml file
The object grid is comprised of “object cards”. These cards are customizable and will typically include an image and select data about that object. An object card will be added to the object grid for any page that includes the object attribute within the page YAML.
Add object_card to your objects.yaml file along with a list of the attributes from your object_list that you want to populate the card. The object_card list not only controls what information appears on the card, but also the order in which it appears.
An image will not automatically appear on the card. You must include the thumbnail attribute in the object_card list, regardless of whether you are using a thumbnail or a figure id that has the setting zoom: true. For more information about creating a thumbnail for a non-zooming images, see the Thumbnail section above.
object_card:
  - thumbnail
  - artist
  - title
  - year
Step 3: Add an object_filters list to your objects.yaml file
Quire includes the option to make your object grid filterable based on the object attributes of your choosing. Whether you want to take advantage of this feature or not, you must add object_filters field the objects.yaml file.
If you do not want filters for your object grid, include the following line:
object_filters: false
If you do want filters for your object grid, include a list of attributes that match options found in your object_list. It is ok to use attributes that do not appear on the object card or tombstone. Above the object grid, readers will be presented with drop-down menus based on the selected attributes that can be used to filter the object cards.
object_filters:
  - location
  - medium
  - year
  - type
Advanced Options for Filtering Object Grids
There are some additional ways you can manage and organize your object data to improve the filtering experience on the object grid page.
Customize Filter Categories
You can customize the filterable categories by including field and label attributes with values that clarify the specific wording or desired appearance of your text. The field attribute should match the attribute in your object_list and the label is used to customized how this field appears in the drop down menu. While location, medium, and year in the example below will automatically appear capitalized, a value used in the label field will not unless it is written out that way.
object_filters:
  - field: "artist"
    label: "Name"
  - location
  - medium
  - year
Organize Filterable Data with Sort
Data for filters needs to be as refined and clean as possible, and it is important to be mindful of how your values are spelled or worded. For example, year: 1993 and year: circa 1993 will create two different filterable values. A solution for this particular issue would be to create a sort_year within your object_list. If you implement sort_year it must be applied to all object entries within the object_list.
object_list:
  - id:
    artist:
    title:
    year: "circa 1993"
    sort_year: "1993"
    dimensions:
    medium:
    location:
    type:
    figure:
      - id:
object_list:
- id:
  artist:
  title:
  year: "1993"
  sort_year: "1993"
  dimensions:
  medium:
  location:
  type:
  figure:
    - id:
Then, in the object filter, use the field/label attribute to ensure the data is being filtered by sort_year but displays as year. You can use this for other attributes such as sort_location, etc. If implementing sort_year then make sure not to also include year as a separate attribute in the object_filters list.
object_filters:
  - field: "artist"
    label: "Name"
  - field: "sort_year"
    label: "Year"
  - location
  - medium
This also applies to capitalization. If the same value is capitalized in one object entry but not in another, it will appear as two separate filterable values.
Create Multiple Filter Values
Any object you are filtering can have multiple values and each would be filterable as long as the data is formatted in the object_list correctly. In the examples below, all three materials (“graphite”, “pastel”, and “paper”) will be added to the Medium dropdown menu. Please note that the values will not be capitalized automatically.
object_list:
  - id:
    artist:
    title:
    year:
    sort_year:
    dimensions:
    medium: ["Graphite", "Pastel", "Paper"]
    location:
    type:
    figure:
      - id:
object_list:
  - id:
    artist:
    title:
    year:
    sort_year:
    dimensions:
    medium:
      - "Graphite"
      - "Pastel"
      - "Paper"
    location:
    type:
    figure:
      - id:


