PDF Output
Produce a PDF version of your publication ready for download or printing
Quire is designed to create a website version, a PDF version, and an EPUB e-book version of your project from the same source files. Quire generates a PDF version of a project directly from the HTML of the online edition. Similar to printing a webpage from a browser, but with a number of added features. This section details how to output, share, configure, and customize PDFs in Quire projects. Once your outputs are ready, visit the Deploy Your Project section of our documentation to learn how to deploy your project to the web.
- Quire’s PDF functionality was updated and expanded with Quire CLI version
1.0.0-rc.15. For earlier versions, the PDF file is generated into the project’s root directory, and there is no functionality to generate and share individual page PDFs, or to configure the PDF filename and output location as documented below.
Generate PDF Files
Creating a PDF requires two steps:
- Run
quire buildin your command-line shell to generate files with your latest changes - Run
quire pdfto generate the PDF
The resulting PDF file will be added to the project’s _site/_assets/downloads/ directory. Every time you re-run quire build, the. PDF file is automatically deleted and so would need to be regenerated with quire pdf.
When running the quire pdf command, the PDF output is generated by Paged.js, an open source HTML-to-PDF generator.
Alternatively, you can install and use PrinceXML to generate your PDF. PrinceXML is free to download for non-commercial use, though it does add a logo watermark to the first page of the PDF output. A desktop license can be purchased that will remove the watermark and also allow for commercial use. With PrinceXML installed, run quire pdf --lib prince to generate your PDF. (--lib is short for ‘library’. The command is instructing Quire to use the PrinceXML software library for PDF output, rather than the default Paged.js library.)
Generate Individual Page PDFs
Along with a full PDF of the project, you can also generate individual PDFs for articles, essays, catalogue entries or any other page in your online publication. This can be a useful additional feature for journals, proceedings volumes, or reference works where readers may want to download and save just one or two particular items rather than the full publication.
Global output settings can be found in the project’s config.yaml file. Setting these to true or false determines which PDFs will be output when running quire pdf. By default, projects are set to output the publication PDF but not the page PDF.
pdf:
  pagePDF:
    output: false
  publicationPDF:
    output: true
By setting pdf.pagePDF.output to true, individual PDFs of each Markdown page in your project will be created and output to the _site/_assets/downloads/ directory alongside the full PDF of the project.
The individual PDFs are considered extracts of the full PDF and will have matching page numbering. For example, if a chapter starts on page 52 in the full PDF, it will also be numbered starting as 52 in its individual PDF.
- Before outputting your PDFs, carefully check over all the metadata and configuration data in your project’s
config.yamlandpublication.yamlfiles to ensure it is complete and accurate.
Control Which Individual Pages Output as PDF
Settings in the config.yaml file control the PDF output globally, for all Markdown pages in the project. However, you can override the global settings on a page-by-page basis using the page_pdf_output attribute in the YAML of individual Markdown pages.
For example, a page in your project with the following YAML will be output as an individual page PDF even if pagePDF.output in config.yaml is set to false:
title: My Essay
layout: essay
order: 100
page_pdf_output: true
This is especially useful in larger projects if you only want to output a limited number of pages as individual page PDFs. Likewise, the reverse is true. If you have a large project and want to output all of the pages as PDFs except for only a few, set pagePDF.output in config.yaml to true, and then use page_pdf_output: false to stop the PDF output on those individual pages:
title: Copyright
layout: page
order: 5
page_pdf_output: false
- A page that is set to be excluded from PDF output with
outputs: [epub, html]will not be output as an individual page PDF even ifpage_pdf_outputis set totrueon that same page. Theoutputsattribute affects all PDF outputs and cannot be overridden. Read more about hiding and showing pages usingoutputsin the ”Page Types & Structure” section of this guide.
Add Links to PDF Downloads
Link to the Full PDF
Lin in the Sidebar
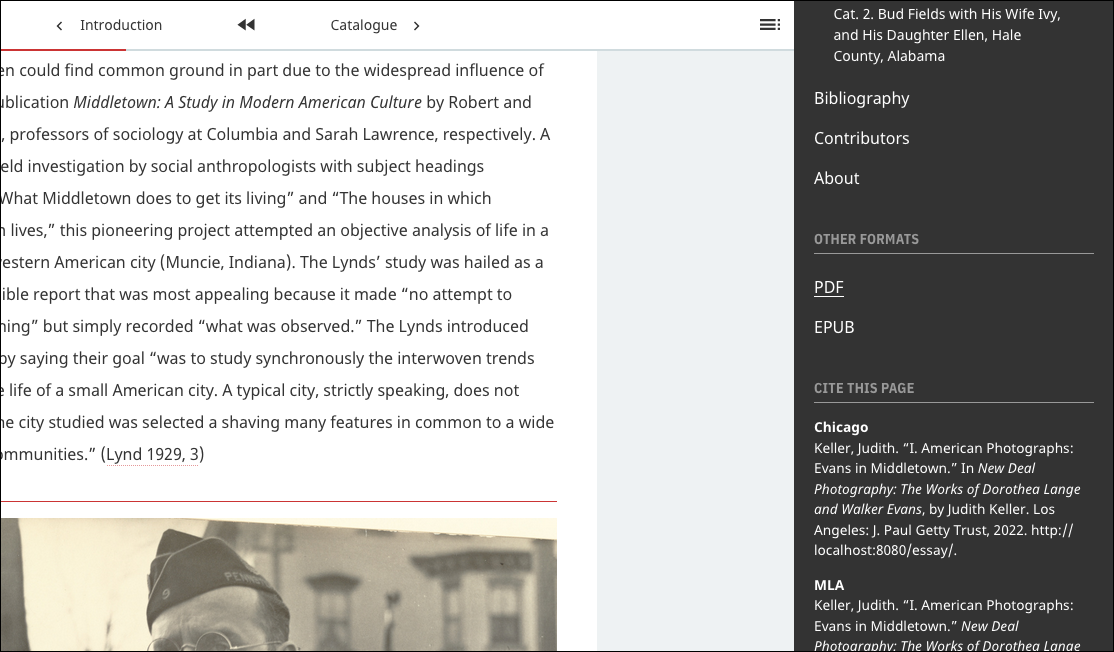
By default, most Quire projects display links to other formats, including the full PDF, in the sidebar navigation menu.
resource_link list in the content/_data/publication.yaml file.This is managed through the content/_data/publication.yaml file, where it can be found listed as a resource_link.
resource_link:
  - type: other-format
    name: PDF
    media_type: application/pdf
    link_relation: alternate
    url: /_assets/downloads/publication.pdf
The name value can be changed to update the link text. The url value is a relative path to where the file can be found within the project’s directories, which by default will be the /_assets/downloads/ directory, unless you have configured it differently.
Link within Markdown Pages
Links to the PDF download can also be added anywhere within a project’s Markdown files, using standard linking syntax and the relative file path.
We hope you enjoy this online edition of our publication, featuring embedded video, zooming images and more. For your convenience, a [PDF download](_assets/downloads/publication.pdf) of the complete book is also available.
Link to individual PDFs
When publicationPDF.output is set to true, links will automatically be added to each corresponding page in the online edition for readers to download the PDFs. These download accessLinks will appear in the header or footer of the pages, or both.
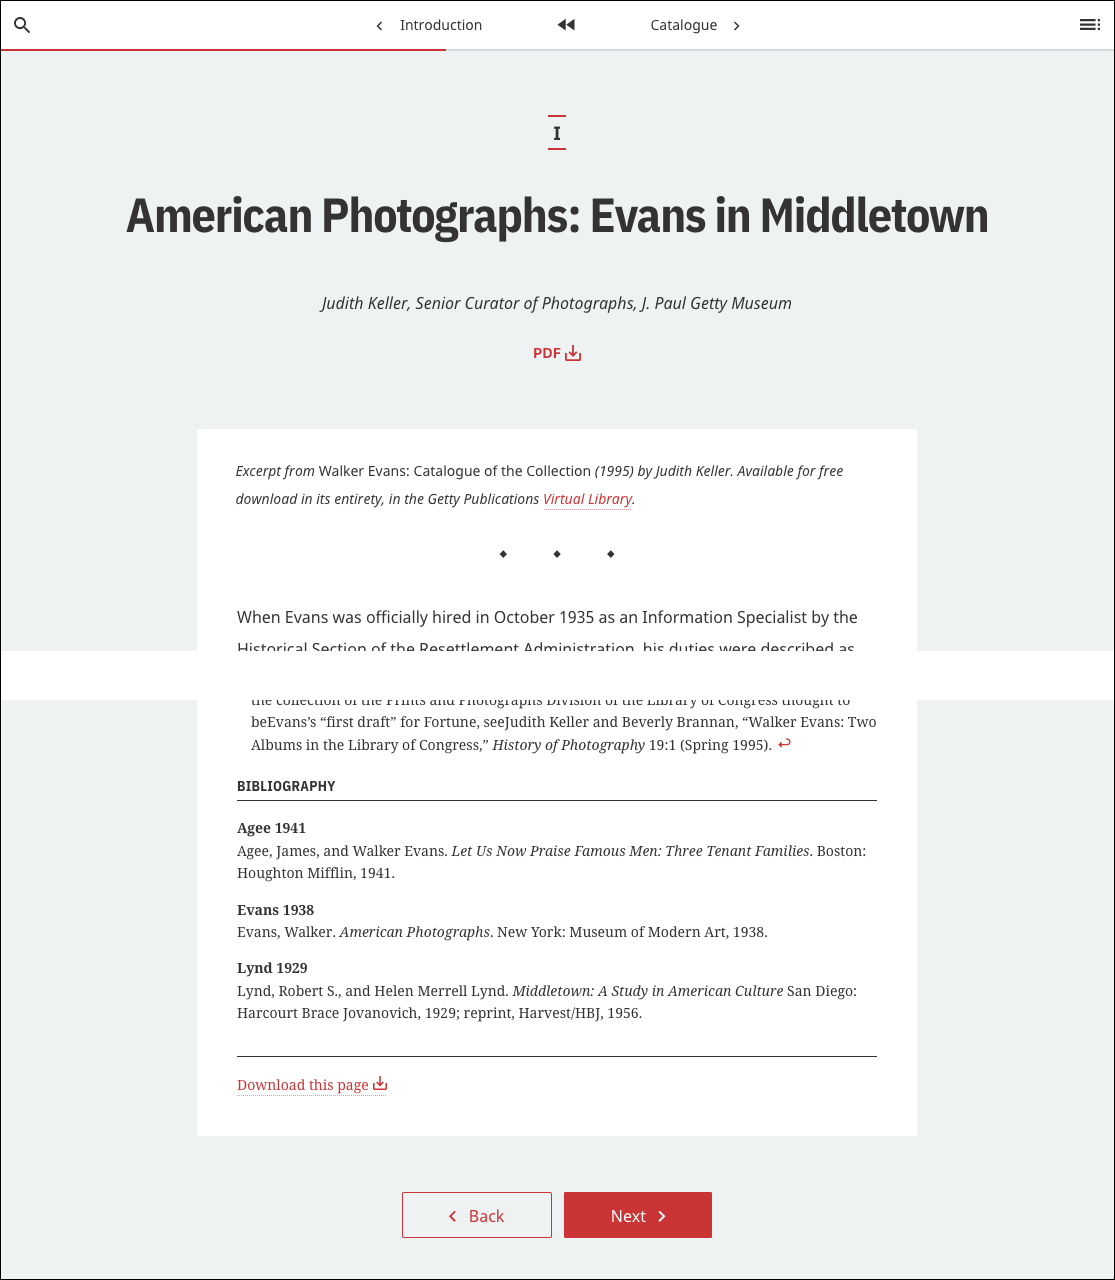
The accessLinks are configured globally in the content/_data/config.yaml file. By default, header and footer are set to true and will display the links in the given position on the page. The links always include a download icon. The label value for each allows the text label that is displayed with the link to be customized. Setting header or footer to false will remove the links from that position.
pdf:
  pagePDF:
    accessLinks:
      - header: true
        label: 'PDF'
      - footer: true
        label: 'Download this page'
Links to the PDFs can also be added anywhere within the Markdown files, using standard linking syntax with the relative file path and the name of the file.
[Download a PDF](_assets/downloads/publication-introduction.pdf) of this Introduction
Individual page PDFs are named based on the PDF filename, and the file path and name of the Markdown page. For example, if the base PDF file name is publication and the file is introduction.md, the individual page PDF would be publication-introduction.pdf. If that Markdown file was in a section directory named section-one, the PDF filename would include that as well and the file would be publication-section-one-introduction.pdf.
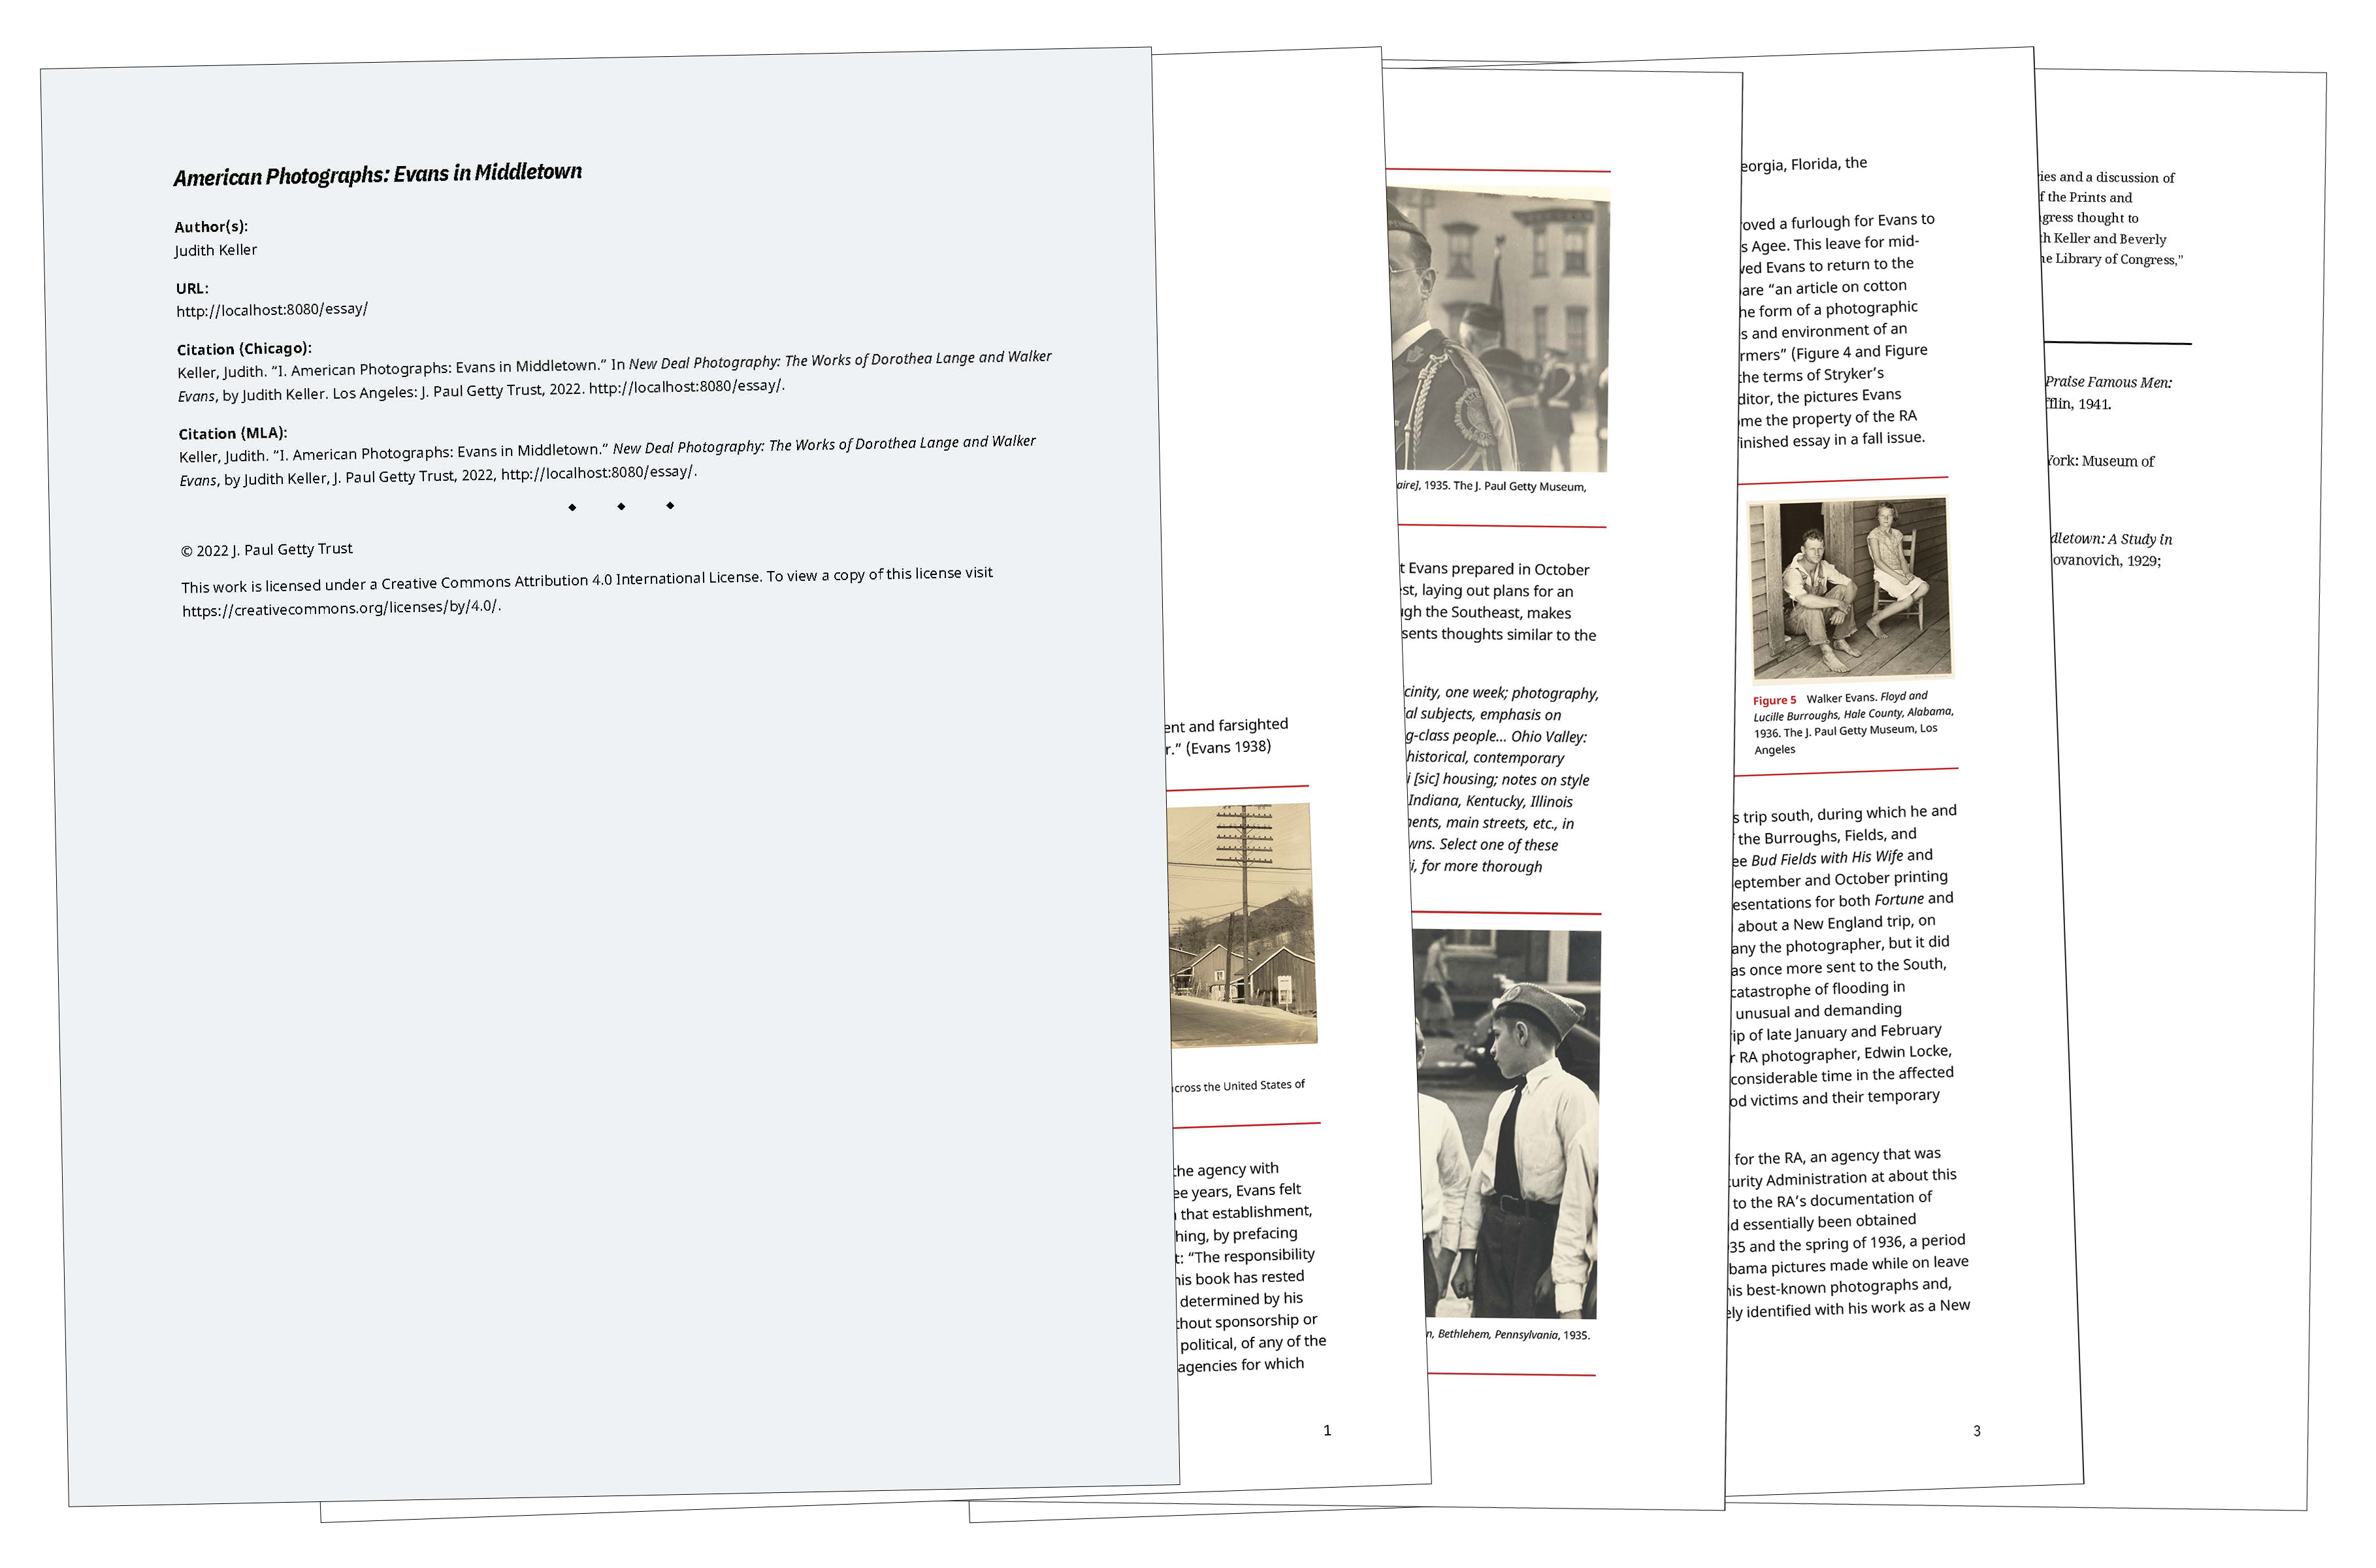
Include Cover Pages
Similar to what is found when downloading an article from a service like JSTOR or ProjectMuse, cover pages are added to Quire’s individual page PDFs. Each contains basic bibliographic, citation, copyright, and license information for that article, chapter, or entry.
Setting coverPage to false in the project’s content/_data/config.yaml file will keep the pages from being added.
pdf:
  pagePDF:
    coverPage: true
Configure the PDF Output
Set Where the PDF File is Output
By default, PDFs are output the the project’s _site/assets/downloads/ directory:
pdf:
  outputDir: '/_assets/downloads'
This default file location can be changed with the pdf.outputDir value in the content/_data/config.yaml file. It will always be within the _site directory. For example, outputDir: '/_assets/other-formats' would output the PDF files to the _site/_assets/other-formats/ directory.
Set the PDF Filename
The default filename for the PDF will be publication.pdf. A custom filename can be specified with the pdf.filename value in the content/_data/config.yaml file. In this example, the file would be named my-project.pdf.
pdf:
  filename: 'my-project'
Filenames should not contain spaces or special characters.
- If the PDF
filenameoroutputDirvalues have been customized in theconfig.yamlfile, be sure to also update theresource_linkinformation to maintain the link’s functionality.
Image Resolution
Figure images are included in the PDF at the same size they were added to the content/_assets/images/ directory, except when the images have been designated as zooming with zoom: true in the figures.yaml file. For zooming images, Quire processes and uses a special image that is 2025px wide for the PDF and EPUB output. These are large enough for a full-page image in a printed book. This value can be changed in _plugins/figures/iiif/config.js. To make images smaller for web-only PDF output, you would look for the following bit of code in the config.js file and change the width to 900 or less.
/**
* Transformation applied to IIIF resources for use in PDF and EPUB
*/
{
 name: 'print-image',
 resize: {
   width: 2025,
   withoutEnlargement: true
 }
},
Crop Marks and Bleeds
The PDF is output with full bleed and crop marks. This default setting can be altered in the content/_assets/styles/variables.scss file. Adding the following lines to the “Print/PDF stylesheet” section removes the crop marks that are automatically applied to the PDF.
$print-crop-marks: false; // true | false
To eliminate the bleed, set print-bleed to 0 in the same section of the variables.scss file:
$print-bleed: 0;
`
Customize PDF Layout and Design
Use Pre-Defined Variables to Modify and Style the PDF
Quire creates the PDF from the website version of your Quire site using CSS rules. You can modify Quire’s PDF styles using CSS just like you would modify Quire’s online styles. You can read more about styles in general in the Style Customization section of this guide.
There are a number of pre-defined CSS variables in Quire that allow you to adjust various parts of the PDF output. These can be found in the content/_assets/styles/variables.scss file. Look for the section called “Print/PDF stylesheet” to find the default style settings for things like page size, margins, and text color. These variables can be adjusted accordingly.
// Print/PDF stylesheet
// -----------------------------------------------------------------------------
$print-width: 8.5in;
$print-height: 11in;
$print-bleed: .125in;

$print-bottom-margin: 0.875in;
$print-top-margin: 0.75in;
$print-outer-margin: 0.75in;
$print-inner-margin: 1in;

$print-base-font-size: 8.5pt;
$print-text-color: $black;

$print-splash-color: $off-white;

$print-entry-image-color: $black; // or can use $rich-black with PrinceXML
$print-entry-caption-color: $white;
$print-entry-image-display: all; // first | all
Add Custom Styles to Refine the Layout
When a pre-defined variable is not available, you can instead add custom CSS to your content/_assets/styles/custom.css file to achieve the desired result. You can target changes to only the print output by wrapping your CSS rules in a .
For example, this would hide all video elements in the print output:
@media print {
  video {
    display: none;
  }
}
Some of the CSS used in styling the PDF is from the CSS Paged Media Specification. This is a set of CSS rules designed specifically to style things in a page-like manner, including controlling left and right page rules, page numbering, and running feet and heads. There is good information about this in Paged.js’s documentation as well as in PrinceXML’s documentation. For the most part, the CSS rules documented for one are also applicable to the other. The one primary exception are any CSS attributes that begin with a custom -prince name.
You can also apply custom styles to more than one page by associating your custom CSS with a class and then referencing it in the page YAML with the classes key. For more information see the Style Customization section of this documentation.
Use These Copy-and-Paste Styles to Fix Common Figure Issues
Custom CSS can be particularly useful in addressing common layout issues in the PDF output like extra white space or awkward breaks at the end of columns and pages.
The following examples illustrate common scenarios and offer sample CSS that can be copy and pasted into your project’s content/_assets/styles/custom.css file. Many require using PrinceXML to generate your PDF rather than Paged.js. Note too that these styles have been wrapped in a print @media query to ensure they only affect the PDF/print output and not the figures as they appear online.
- This level of CSS refinement should be done as late in the publishing process as possible, as any content changes might shift the way the pages flow and undo the CSS work you did.
Reduce White Space by Changing Figure Width
If a figure is too large to fit at the bottom of a page or column, then it will bump to the next page, leaving extra white space in its place. To eliminate this white space, CSS can be used to adjust the width of the figure until it is small enough to fit in the open space. In this example, we’ve created a custom CSS style to make the figure 85% of its normal width (pdf-85-percent-width), and applied that style to the shortcode for the figure.
{% figure 'fig-01' 'pdf-85-percent-width' %}

CSS
@media print {
  .q-figure.pdf-85-percent-width img,
  .q-figure.pdf-85-percent-width figure figcaption {
    max-width: 85%;
    margin-left: auto;
    margin-right: auto;
  }
}
Note that while this CSS is specific for 85% width, this same pattern can be repeated to for any percentage width that might be necessary by changing the class name and the max-width value. The auto margins ensure the figure and caption are centered. Removing them will align them to the left.
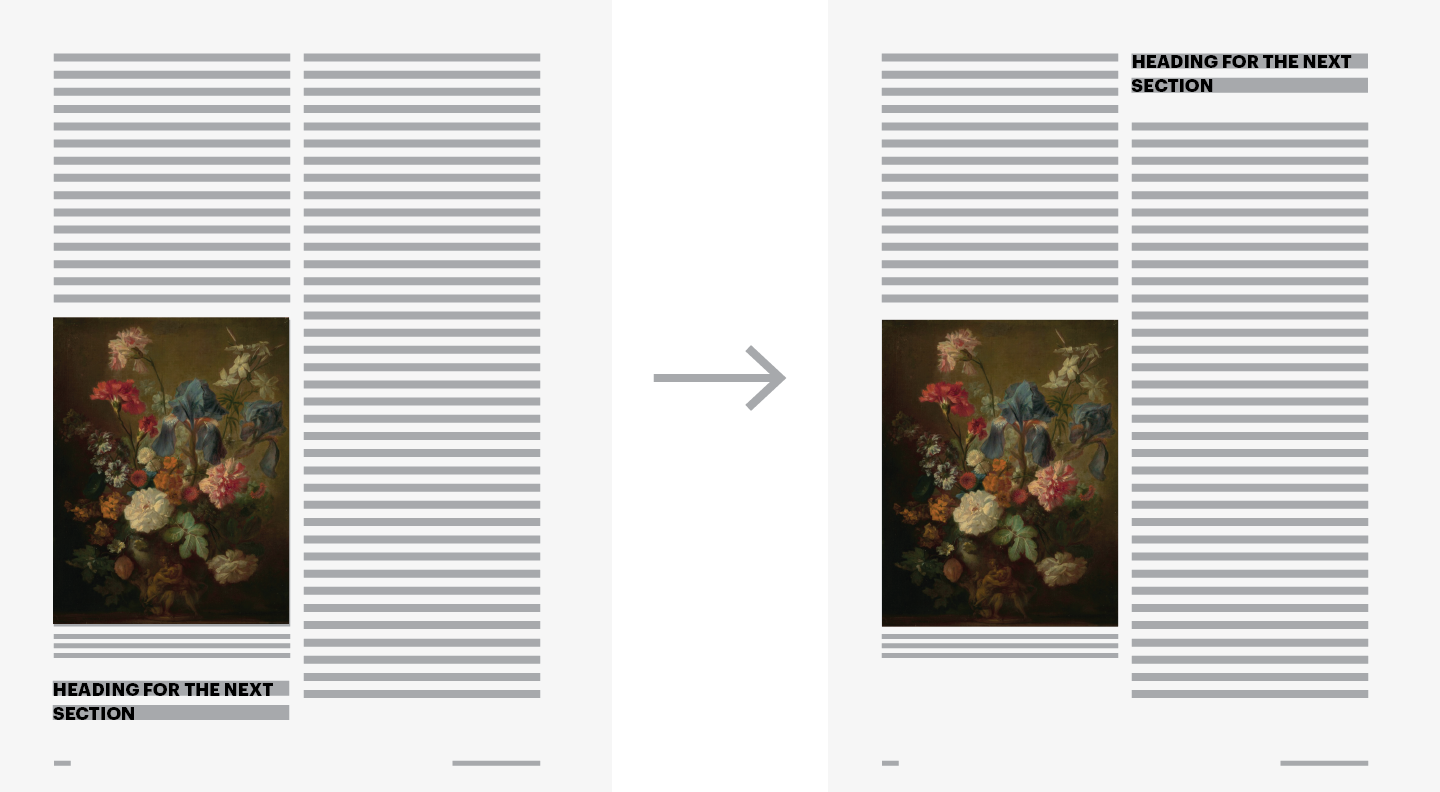
Refine Page and Column Breaks Around Figures
CSS can also be used to force a break before or after a figure. This can be useful in scenarios such as the one illustrated here, where a heading has been separated from its main text. Using pdf-column-break-after to force a break after the figure in the left-hand column, pushes the heading into a more sensible location. Note that column breaks are supported in PrinceXML but not in Paged.js. Both tools support page breaks.
{% figure 'fig-01' 'pdf-column-break-after` %}
CSS
@media print {
  .q-figure.pdf-page-break-after {
    break-after: page;
  }
  .q-figure.pdf-page-break-before {
    break-before: page;
  }
  /* Only works with PrinceXML */
  .q-figure.pdf-column-break-after {
    break-after: column;
  }
  .q-figure.pdf-column-break-before {
    break-before: column;
  }
}
Eliminate White Space and Align Figures to the Top of the Page
If you use PrinceXML to generate your PDF, there are some additional options available to you. In particular is the ability to float an image to the top of the page. Figures that are floated to the top of the page will allow the text after them to flow past them and into the preceding column or page. This can be useful to fill in white spaces that are too small for a figure even if the figure has a reduced width.
{% figure 'fig-01' 'pdf-float-top` %}
Floats can likewise be used to eliminate small, awkward chunks of extra lines that might appear above a figure.
CSS
@media print {
  /* Only works with PrinceXML */
  .q-figure.pdf-float-top {
    float: none;
    -prince-float: top;
    margin-top: 0 !important;
  }
}
Read more about PrinceXML’s float options in their documentation and quick guide.
Make a Figure Two Columns Wide
Also specific for PrinceXML output, figure images can be styled to span both columns. This can help very short, horizontal images or images with a lot of text or other details be more legible. In these cases, it’s also often useful to float the image to the top to avoid a two-column image from appearing in the middle of the page and breaking up the columns of text.
{% figure 'fig-01' 'pdf-two-column pdf-float-top` %}
CSS
@media print {
  /* Only works with PrinceXML */
  .q-figure.pdf-two-column {
    column-span: all;
  }
}
- Anytime you are making tweaks to the
custom.cssand want to review your work, it is advised to delete thepublicfolder before rerunningquire buildandquire pdf.
Develop PDFs Like a Pro
For developers and designers interested in making more extensive changes to the PDF output like the layout refinements documented above, you can make the process easier by using a PDF reader that will auto-reload, displaying a version of the PDF output in your browser, and testing changes in HTML first.
Use an Auto-Reloading PDF Reader
Adobe Acrobat (a popular PDF reader) won’t reload the PDF you’re looking at if the file has been changed. We recommend instead using a PDF reader, like Skim for macOS, that will reload the PDF every time it’s changed. For Quire development, this means you can open the PDF to a page you want to make a style change to, make the change in your project, run quire build and quire pdf and see that change happen as soon as the PDF process is finished running. It takes away the wasted time of closing PDFs, opening new versions and finding your place in them time and time again.
Display the PDF Version in a Browser
You can use your browser to display a decent, though not exact, preview of what the print output will be. It won’t have the correct page sizes or margins and page numbering, but you’ll see the overall text sizes and styles, figures, spacing between these elements, and other parts generally as they’ll look in the PDF. This means that you can make changes to your CSS and see a live preview in the browser without having to output the PDF every time.
Run
quire buildandquire pdfas normal.Open the
_site/pdf.htmlfile in Firefox or Chrome. This is a single file of your entire Quire project. It will look a little different and some elements from the normal preview will be missing or altered.Right or Control-Click anywhere in the browser window.
Firefox: Select Inspect Element and then click the small page icon in the upper right of the window that opens. (On hover, the icon will say “Toggle print media simulation for the page”.)
Chrome: Select Inspect, click the three-dots menu icon in the upper right of the window that opens, select More Tools, and then Rendering. In the area that opens, scroll down to “Emulate CSS media type” and select “print”.
You can also use the web inspector to help track down different HTML elements and CSS selectors that are effecting the final PDF output. This can make it easier to make changes that will have the desired effect.
Test Changes in HTML First
While the normal process for PDF development requires running quire build and then quire pdf every time you make a change to your content and style files, it can sometimes be advantageous to skip the build process and test your change in the HTML that generates the PDF first.
Quire’s PDF file is generated solely from the _site/pdf.html and _site/pdf.css files that are created every time you run quire build. It is possible to make a manual change to either one and run quire pdf to test the result, skipping the build process. For example, you could find the markup for a particular figure you want to target in the pdf.html file, like this markup for fig-1:
<figure id="fig-1" class="q-figure q-figure--image">
  <img alt="" class="q-figure__image" src="_assets/images/figures/fig-1.jpg" data-outputs-include="epub,pdf">
  <figcaption class="q-figure__caption" data-outputs-include="epub,pdf">
    ...
  </figcaption>
</figure>
You can then add one of the custom classes as described above to it. Note that classes in HTML are separated from one another with a space, and do not include the leading period (.) they have in CSS. Also, if the class you’re adding was not already in your custom.css file, you will need to temporarily add it to the bottom of the pdf.css for it to work.
<figure id="fig-1" class="q-figure q-figure--image pdf-85-percent-width">
Save your changes and then run quire pdf to see the result. If it looks good, you can go back and add that same class into the shortcode in your source Markdown files and the styles for it into the custom.css file as needed. If it doesn’t look good, you can try a new custom class and quickly check the result with quire pdf again.
Temporarily skipping the build process in this way can save a lot of time, though it requires an extra amount of care to ensure that the temporary changes you make are brought back into your source files.
- Remember that any time you run
quire buildany changes you made to the_site/pdf.htmland_site/pdf.csswill be erased.
Ensure PDF Accessibility
TK
Produce a Print Edition from the PDF
TK